Lesson 1
Removing excess nub
As you can see here this Rx75 has a lot of unwanted plastic parts a.k.a nubs
 So to remove them you can use cutters or just sand it away but for me i prefer using cuttter because it a lot faster and easy but if you want to sand it you ask someone esle hahahaha.....seriously

A nipper
A cutter
A screwdriver
A tweezer
A black Gundam marker
A Tamiya chrome silver paint marker
A Gundam marker set(red,blue,yellow,white,metallic dark grey)
A Gundam weathering marker set
A metal dish(to hold the paint for dry brushing)
Some Tooth pick(to make bullet holes)
A lighter /candle
Wow thats a lot!
 I disassemble the Gundam and started to remove all the nub marks before painting them.The paint can hide the nub scars easily too : )
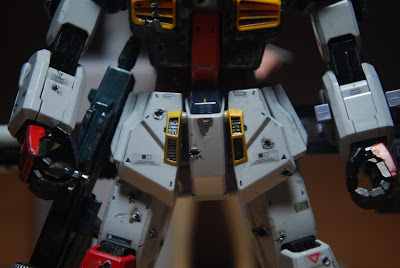
 Done panel lining on the skirts
 Painted the hydraulic pumps and the spring using the Tamiya chrome silver.Don't worry about the excess paint,it can be removed by simply scratching it with cutter
Lesson 2
If there is an excess paint while you do the panel lining this is how you remove it
First apply the marker then...
 using your finger wipe the excess paint and...
 Walla.A nice and clean paint is left.
 Now another example.Take a look at the rectangle shape.I had apply the black paint but theres too much ink so what do you do?...
 Yes, correct remove it by wiping it with your fingers.
 After lining all the necessary parts, i painted the screw marks silver to highlight the minor details
 using your finger wipe the excess paint and...
 Walla.A nice and clean paint is left.
 Now another example.Take a look at the rectangle shape.I had apply the black paint but theres too much ink so what do you do?...
 Yes, correct remove it by wiping it with your fingers.
 After lining all the necessary parts, i painted the screw marks silver to highlight the minor details
So students any question?
Next lesson i'll teach you how to dry brush and weather, My style


